

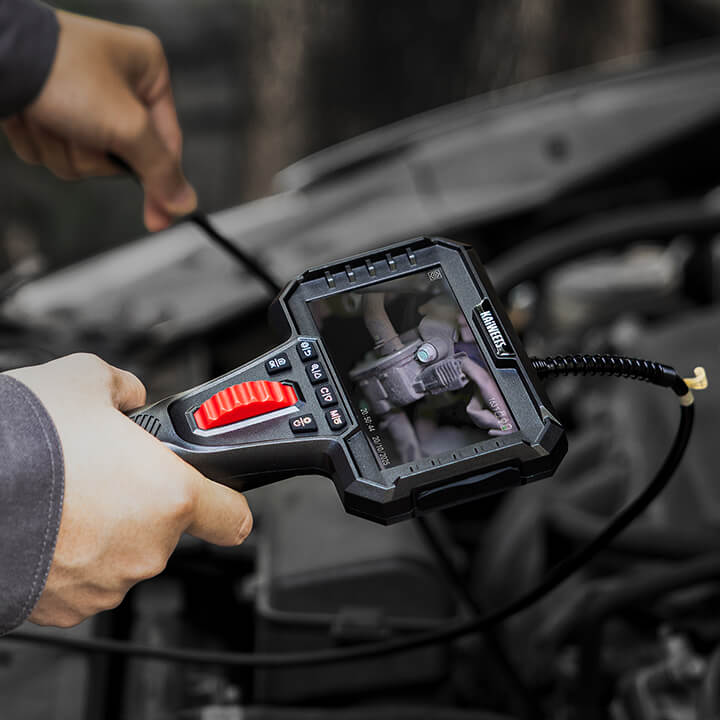

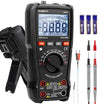

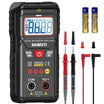
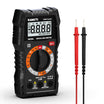
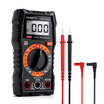
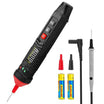
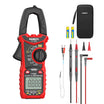
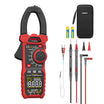
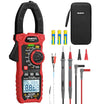
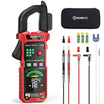

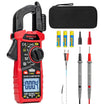

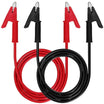

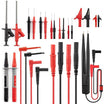




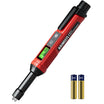


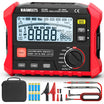
























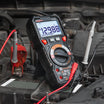
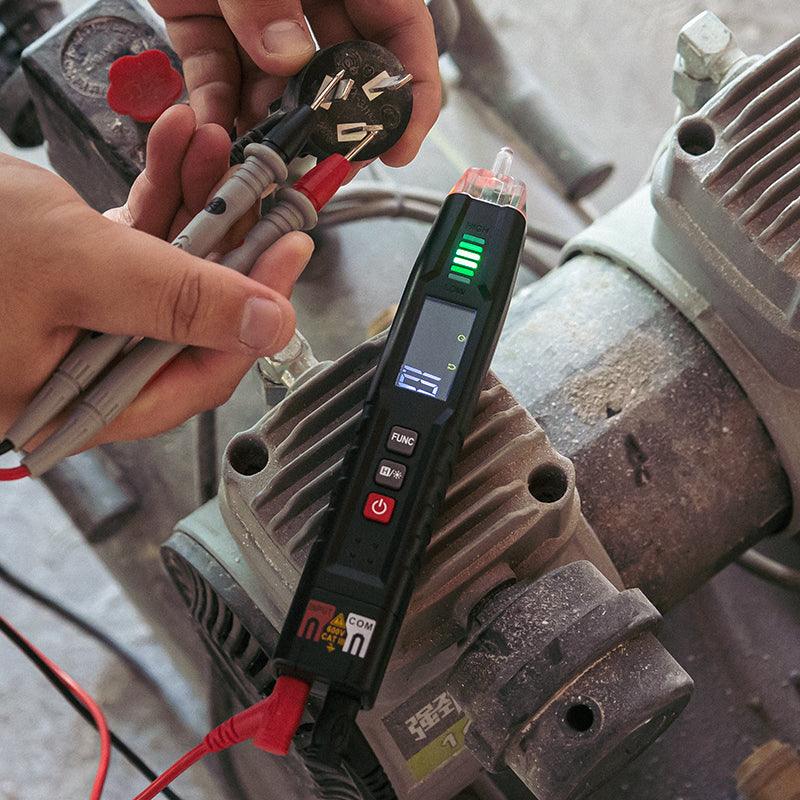
A multimeter can help you check the electrical condition of an automotive EVAP purge valve. The main test measures the resistance of the valve’s internal solenoid coil.
This test can identify an open or shorted coil, but it cannot confirm that the valve opens correctly or seals when closed. For a reliable diagnosis, compare the reading with the specification for your vehicle and combine it with a visual inspection or mechanical test.
If you are unfamiliar with resistance mode or the meter’s input ports, review the basic steps in this multimeter guide before beginning.

What Does a Purge Valve Do?
The purge valve controls the flow of stored fuel vapor from the EVAP charcoal canister into the engine’s intake system. The vapor is then burned during normal combustion instead of escaping into the atmosphere.
The engine control module, also called the ECM or PCM, opens the valve when operating conditions are suitable. On many vehicles, the valve is normally closed when it is not energized. However, the exact design and control method vary by vehicle.
The purge valve should not be confused with a furnace safety valve. This guide applies only to the automotive EVAP purge control valve.
What Can a Multimeter Tell You About a Purge Valve?
A digital multimeter can show whether the purge valve’s solenoid coil has a complete electrical path and whether its resistance is within the manufacturer’s specified range.
A resistance test may reveal:
- An open coil winding
- A coil that is shorted internally
- An unstable electrical connection
A normal resistance reading does not prove that the valve is mechanically good. The valve may still stick, leak or fail to respond correctly when commanded by the ECM.
What Do You Need to Test a Purge Valve?
You need only a few basic items for the electrical test:
- A digital multimeter with resistance mode
- The vehicle’s service information or wiring diagram
- Basic hand tools for accessing the valve
A scan tool and hand-operated vacuum pump are useful for further diagnosis, but they are not required for the initial resistance check.
How Do You Test a Purge Valve With a Multimeter?
To test the purge valve, disconnect it from the vehicle wiring and measure resistance directly across its electrical terminals.
-
Park the vehicle safely.
Switch off the engine and allow it to cool. Work in a well-ventilated area away from cigarettes, open flames and anything that could create a spark.
-
Locate the EVAP purge valve.
The valve is often installed in the engine compartment between the intake manifold and the EVAP vapor line. Its location varies, so confirm the correct component with the service manual.
-
Turn off the ignition.
Do not measure resistance while the circuit is powered. Follow the manufacturer’s instructions if the repair procedure requires the negative battery terminal to be disconnected.
-
Disconnect the electrical connector.
Release the connector lock without pulling on the wires. Inspect the connector for corrosion, moisture or damaged terminals.
-
Set up the multimeter.
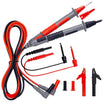
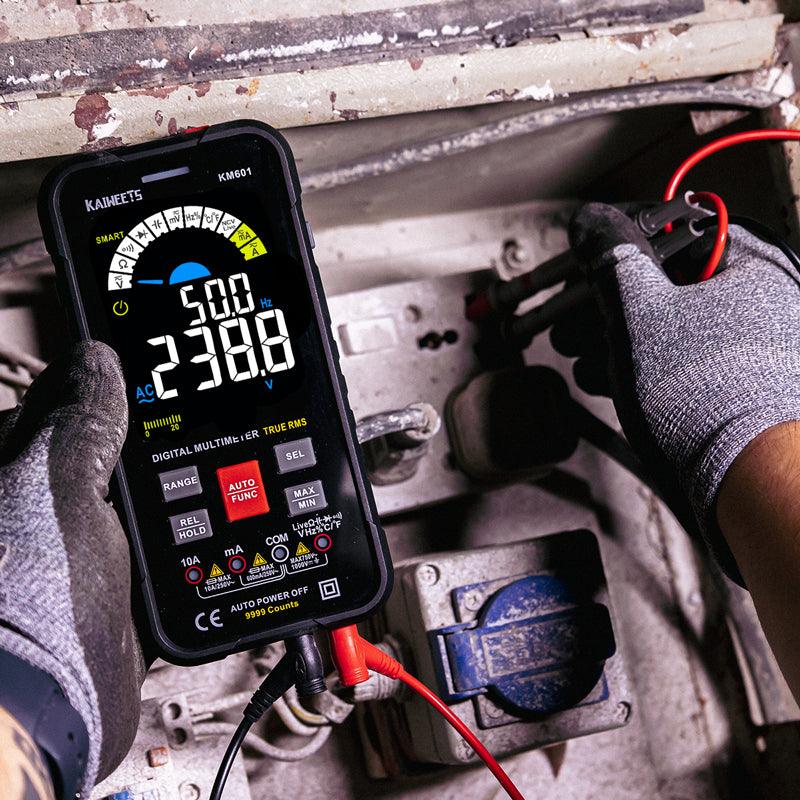
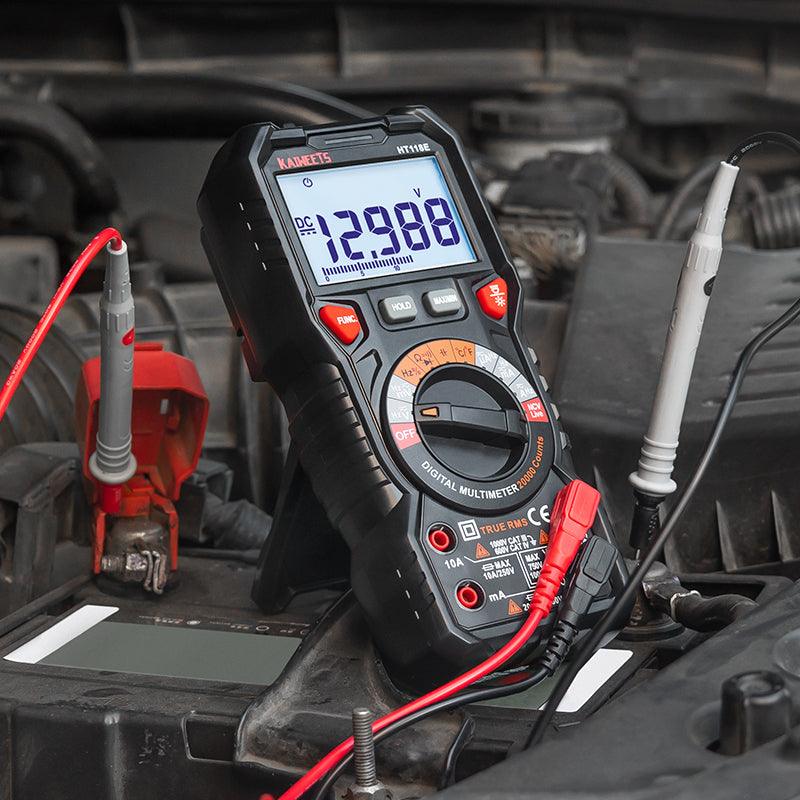
Insert the black lead into the COM port and the red lead into the VΩ port. Select resistance mode, shown by the Ω symbol. The multimeter symbols guide explains this setting in more detail.
-
Check the test leads.
Touch the probe tips together. The reading should be close to zero ohms. This confirms that the meter and leads can complete a low-resistance measurement.
-
Measure the purge valve coil.
Place one probe on each electrical terminal of the disconnected valve. Polarity normally does not matter for a basic two-terminal resistance test.
-
Compare the result with the correct specification.
Use the resistance range listed for the exact vehicle, engine and valve. There is no universal resistance value that applies to every purge valve.
What Does the Multimeter Reading Mean?
The reading can identify an obvious electrical failure, but it must be interpreted against the vehicle-specific specification.
| Multimeter reading | What it may indicate |
|---|---|
| Within the specified range | The solenoid coil is electrically plausible, but the valve may still have a mechanical or sealing fault. |
| OL or infinite resistance | The coil or an internal connection is open. |
| Very close to 0 Ω | The coil may be shorted. Account for the small resistance of the test leads. |
| Unstable or intermittent reading | The probes may have poor contact, or the valve may have an intermittent internal fault. |
Continuity mode may beep across a healthy coil, but the beep threshold differs between meters. Resistance mode gives a more useful reading because it can be compared with the service specification.
Can You Test Whether the Valve Opens and Closes?
A mechanical test is needed to check airflow and sealing. A multimeter alone cannot perform this part of the diagnosis.
Many purge valves should block airflow when they are not energized. A technician may use a hand vacuum pump to check whether the valve holds vacuum in its closed state.
The valve can then be commanded with a bidirectional scan tool to see whether it opens. Some service procedures use an external power supply or fused jumper leads, but you should not apply battery voltage unless the manufacturer specifically permits it. Some valves are pulse-width controlled and can be damaged by an incorrect test method.
What Are the Symptoms of a Bad Purge Valve?
A failed purge valve can affect engine operation, especially when it sticks open or does not respond to the ECM.
Possible symptoms include:
- A check engine light
- Rough idle or stalling
- Hard starting after refueling
- An unusual fuel-vapor odor
- A failed emissions inspection
These symptoms do not confirm that the purge valve is faulty. A loose fuel cap, damaged vapor hose or another EVAP component can create similar problems.
If you smell strong gasoline fumes or find liquid fuel around the valve or vapor lines, stop testing. Do not start the engine until the leak has been inspected.
Which Trouble Codes Can Be Related to the Purge Valve?
Several OBD-II codes may point toward the purge valve or its electrical circuit, but each code requires further diagnosis.
| Code | General meaning |
|---|---|
| P0441 | Incorrect EVAP purge flow |
| P0443 | Purge control valve circuit malfunction |
| P0444 | Purge control valve circuit open |
| P0445 | Purge control valve circuit shorted |
| P0496 | EVAP flow detected when purge should not be occurring |
A circuit-related code may be caused by damaged wiring or a poor connector rather than the valve itself. A flow code may also result from a blocked line, system leak or software issue.
Does the Purge Valve Need to Be Replaced?
The purge valve should be replaced when testing confirms that the coil is outside specification or the valve fails the manufacturer’s mechanical test.
Replacement may also be appropriate when the valve leaks while unpowered, sticks during a scan-tool test or has visible physical damage. Do not replace it solely because an EVAP code is present.
Before ordering a new valve, inspect:
- The electrical connector and wiring
- The vapor hoses and quick-connect fittings
- The surrounding EVAP lines for restrictions or leaks
How Do You Replace an EVAP Purge Valve?
The replacement process is usually straightforward, but the exact steps depend on the vehicle.
- Switch off the ignition and allow the engine to cool.
- Disconnect the battery if the service procedure requires it.
- Disconnect the valve’s electrical connector.
- Release the vapor hoses without damaging their fittings.
- Remove the mounting fastener and install the replacement valve.
- Reconnect the hoses and electrical connector.
- Clear the diagnostic code if appropriate, then verify the repair.
Do not force brittle vapor-line connectors. If the valve is difficult to reach or the procedure requires removing fuel-system components, have the repair completed by a qualified technician.
Frequently Asked Questions
How Many Ohms Should a Purge Valve Have?
There is no single resistance value for every purge valve. Specifications differ by manufacturer, vehicle and engine.
Measure the valve at the temperature specified in the service information and compare the result with the listed range. Do not use a general internet value as the pass-or-fail limit for an unfamiliar vehicle.
Can You Clean a Purge Valve?
External dirt can be removed from around the connector and hose fittings, but internal cleaning is not normally a dependable repair for a sticking or leaking valve.
Solvents may damage the valve’s seals or internal materials. Do not spray cleaner into the valve unless the vehicle manufacturer provides an approved cleaning procedure.
How Is the Purge Valve Controlled?
The ECM or PCM controls the purge valve according to engine and EVAP system conditions. Many vehicles use a pulsed electrical signal to regulate how much vapor enters the intake.
The valve is not necessarily fully open whenever the engine is running. Purge flow can change with engine load and system pressure.
Can a Purge Valve Pass the Resistance Test and Still Be Bad?
Yes. The coil can measure within specification even when the valve is mechanically stuck or leaking.
A complete diagnosis may require a vacuum test, scan-tool command or EVAP smoke test. The appropriate method depends on the stored code and the vehicle’s system design.
Should the Purge Valve Have Continuity?
A functioning solenoid coil usually provides an electrical path between its two terminals. However, a continuity beep only confirms that the resistance is below the meter’s beep threshold.
Use resistance mode and compare the measured value with the manufacturer’s specification instead of relying only on the sound.
Conclusion
Testing an EVAP purge valve with a digital multimeter is a useful first step when diagnosing an electrical fault. Disconnect the valve, measure resistance across its terminals and compare the result with the correct service specification.
An open or shorted coil usually means the valve needs replacement. A normal reading only confirms the condition of the coil, so mechanical operation and the rest of the EVAP system may still need to be tested.

Related Articles:
How to Test Fuel Rail Pressure Sensor With a Multimeter
How to Test a Ground Wire on a Car

Leave a comment
All comments are moderated before being published.
This site is protected by hCaptcha and the hCaptcha Privacy Policy and Terms of Service apply.