









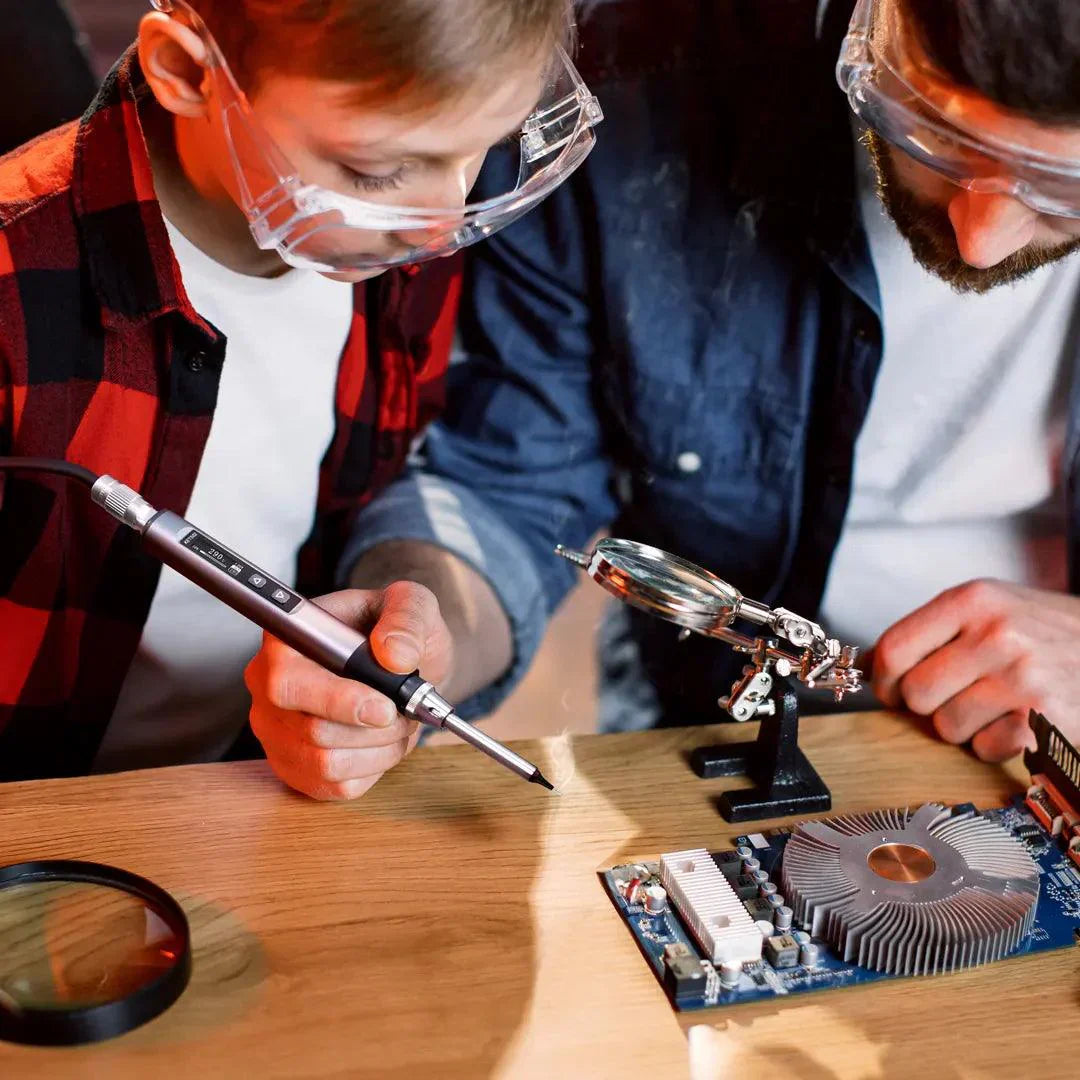
Soldering is a joining method that uses heat to melt a filler metal called solder. The solder flows into the joint, cools, and creates an electrical or mechanical connection without melting the main parts being joined.
For electronics work, soldering is most often used to connect wires, terminals, and circuit board components. It can also appear in crafts or repair work, but the right solder and flux depend on the material and the job. This guide explains how soldering works, what tools you need, and how to work more safely.
What Is Soldering?
Soldering joins metal surfaces by melting solder into the gap between them. The base metal usually stays solid, while the solder bonds to the surface after proper heating and cleaning.
A good solder joint is not just a blob of melted metal. The surfaces must be clean, hot enough, and compatible with the solder. Flux helps remove light oxidation so the solder can wet the surface instead of sitting on top of it.
In electronics, soldering is mainly used for electrical continuity. In other work, it may also add light mechanical support. It is not the same as welding, and it should not be treated as a replacement for high-strength structural joining.
What Is the Purpose of Soldering?
The main purpose of soldering is to create a reliable connection between conductive parts. In an electronic circuit, that connection allows current or signals to pass through the joint.
Soldering can also help hold small parts in place. However, the solder should not carry heavy mechanical stress by itself. If a wire or connector may be pulled, it should also have strain relief or a secure mechanical mount.
A clean solder joint can reduce intermittent contact problems. It also protects the joined area from quick oxidation, especially when the joint is made with the correct flux and cleaned when required.
How Does the Soldering Process Work?
The soldering process works by heating the joint first, then feeding solder into the heated connection. The solder should melt from the heat of the joint, not only from direct contact with the iron tip.
Step 1: Prepare the work area
Start with a stable surface, good lighting, and ventilation. Keep flammable materials away from the soldering iron.
Step 2: Clean the parts
Solder flows best on clean metal. Remove dirt, grease, or oxidation before heating the joint.
Step 3: Heat the joint
Place the soldering iron tip so it touches the parts being joined. The goal is to heat both surfaces evenly.
Step 4: Apply solder
Feed a small amount of solder into the heated joint. The solder should flow smoothly and form a thin, even fillet.
Step 5: Let the joint cool naturally
Hold the parts still while the solder cools. Moving the joint too soon can cause a weak or dull-looking connection.
Step 6: Inspect the finished joint
A good electronics solder joint usually looks smooth and well-wetted. If it looks cracked, grainy, or balled up, the joint may need to be reheated and corrected.
What Are the Main Types of Soldering?
The main joining methods are soft soldering, hard soldering, and brazing. The difference is mainly the filler metal and the working temperature.
| Method | Typical use | What to know |
| Soft soldering | Electronics and light repair work | Uses lower-melting solder. It is common for wires and circuit boards. |
| Hard soldering | Jewelry and metalwork | Uses higher heat and a stronger filler. It is not the usual method for PCB repair. |
| Brazing | Stronger metal joining | Uses a filler metal above 450°C. The base metals do not melt. |
For most beginner electronics projects, soft soldering is the method you will use. Brazing and hard soldering require different tools, higher heat, and more material-specific technique.
What Tools Do You Need for Soldering?
Basic soldering requires a heat source, solder, and a way to keep the work clean and steady. You do not need a large tool set to start, but the essential items should be safe and suitable for the material.
Soldering iron:
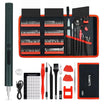
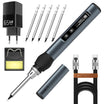
A soldering iron heats the joint and melts the solder. For electronics, an adjustable-temperature iron is easier to control than a fixed-temperature iron. If you are setting up a basic workspace, choosing from complete soldering iron kits can be more convenient because the iron, stand, and common accessories are usually matched for beginner repair work.
Solder:
Solder is the filler metal that forms the joint. Electronics solder is usually thin and designed to flow around small terminals or pads.
Flux:
Flux helps solder wet the metal surface. Many electronics solders have a flux core, but extra flux can help when reworking older joints.
Soldering stand and tip cleaner:
A stand keeps the hot iron off the bench. A damp sponge or brass wool helps keep the tip clean while you work.
Soldering wick:
Soldering wick is a copper braid used to remove excess solder. It is useful when fixing bridges or cleaning pads before rework.
Magnification:
A magnifying glass or small inspection lamp helps you check the joint. This is especially helpful for small circuit board work.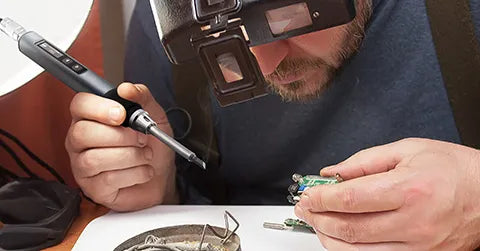
How Do You Choose the Right Solder and Temperature?
Choose solder and temperature based on the material, the joint size, and the safety requirements of the project. Electronics, plumbing, and craft work do not use the same solder.
| Project type | Better choice | Important note |
| Circuit board repair | Thin electronics solder with rosin flux | Use enough heat to flow solder quickly without overheating pads. |
| Wire soldering | Electronics solder matched to wire size | Tin the wire first if the strands are difficult to wet. |
| Drinking-water plumbing | Lead-free plumbing solder and flux | Do not use electronics solder on potable-water pipes. |
| Jewelry or metal craft | Solder matched to the base metal | The process may require a torch instead of an electronics iron. |
For electronics soldering, many adjustable irons are set roughly in the 320°C to 380°C range. Lead-free solder often needs more heat than traditional tin-lead solder. The best setting is the lowest temperature that lets the solder flow cleanly within a few seconds.
If the solder does not melt at the joint, the tip may be dirty or too small. If the pad starts to lift or the insulation melts quickly, the iron may be too hot or held in place too long.
Safety Precautions When Soldering
Soldering safety starts with heat control, ventilation, and correct material choice. A soldering iron can burn skin quickly, and flux fumes should not be breathed in directly.
- Work in a ventilated area, and use local fume extraction when possible.
- Keep your face out of the rising smoke from flux.
- Wear safety glasses to protect your eyes from solder splatter.
- Use a stand whenever you set the iron down.
- Hold small parts with tweezers, clamps, or helping hands.
- Wash your hands after handling solder, especially if it contains lead.
- Keep food and drinks away from the workbench.
- Unplug or turn off the soldering iron when the work is finished.
- Use only lead-free solder and flux rated for potable-water plumbing when working on drinking-water pipes.
Rosin-based flux fumes can irritate the eyes and respiratory system. If soldering is part of regular work, follow your local workplace safety rules and use proper fume control. For occasional home use, a small fan alone is not a perfect solution, but moving fumes away from your breathing zone is still important.
Common Soldering Problems and How to Fix Them
Most soldering problems come from poor heat transfer, dirty surfaces, or using too much solder. The joint appearance usually gives you a useful clue.
| Problem | What it may look like | How to fix it |
| Cold joint | Dull, rough, or cracked surface | Reheat the joint with a clean tip and let the solder flow fully. |
| Solder bridge | Solder connects two points that should stay separate | Remove excess solder with wick, then inspect the gap again. |
| Poor wetting | Solder beads up instead of spreading | Clean the surface and apply suitable flux before reheating. |
| Lifted pad | Circuit board pad separates from the board | Stop heating immediately. Repair may need a jumper wire. |
Do not keep adding more solder to a bad joint. It is usually better to remove excess solder, clean the area, and remake the joint with better heat contact.
Frequently Asked Questions
Is soldering suitable for all metals?
Soldering is not suitable for all metals. It works best when the solder, flux, and base metal are compatible. Stainless steel, aluminum, and cast iron need special processes or different joining methods.
Is soldering the same as welding?
Soldering is not the same as welding. Welding melts the base metal to form the joint, while soldering melts a filler metal that bonds to the surface.
Can soldering be done on delicate electronic components?
Yes, soldering can be done on delicate electronic components if the heat is controlled. Use a fine tip, work quickly, and avoid pulling on the component while the solder is cooling.
Is lead-free solder always better?
Lead-free solder is the safer choice for many users, especially for general home projects. It may need a slightly higher working temperature than tin-lead solder, so technique and tip care become more important.
Why does solder sometimes refuse to stick?
Solder often refuses to stick when the surface is dirty, oxidized, or not hot enough. Clean the metal, add proper flux, and heat the joint rather than melting solder only on the iron tip.
Conclusion
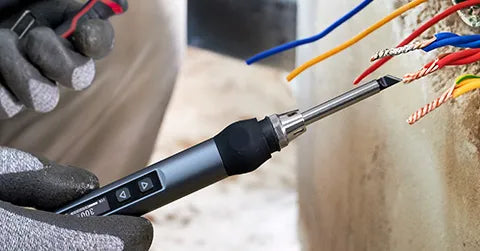
Soldering is a practical skill for building and repairing electrical connections. The best results come from clean surfaces, controlled heat, and the right solder for the job.
For beginners, focus on simple joints before moving to small circuit boards. Good ventilation, careful handling, and patient inspection matter as much as the tool itself.

Leave a comment
All comments are moderated before being published.
This site is protected by hCaptcha and the hCaptcha Privacy Policy and Terms of Service apply.