
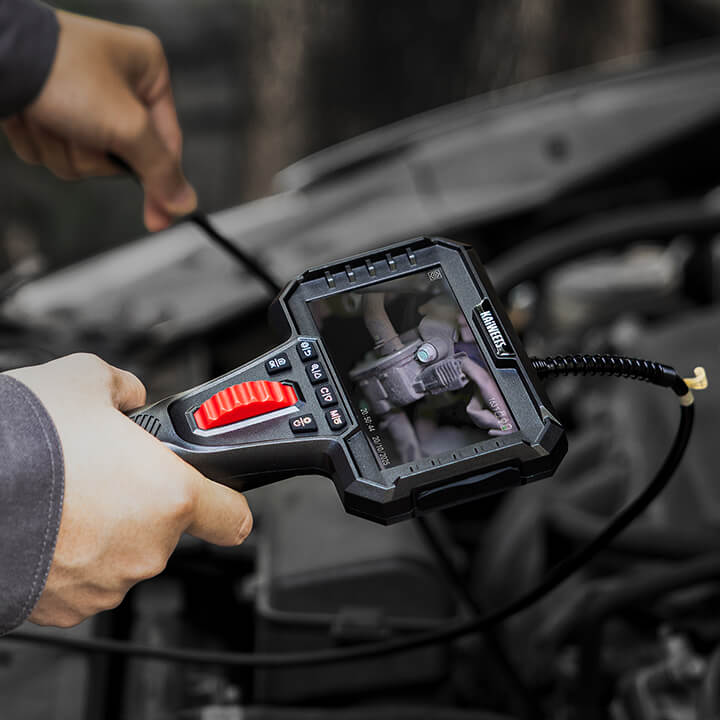


If you’re troubleshooting an engine misfire, a faulty coil-on-plug (COP) ignition coil is often one of the first components to check. While a multimeter cannot fully simulate real engine operating conditions, it can still be useful for basic power and ground verification on a 3-wire COP system.
This guide explains what a digital multimeter can and cannot tell you when testing a 3-wire ignition coil.
Common Symptoms of a Bad Ignition Coil
If your vehicle has a bad ignition coil, you may experience one or more of the following symptoms:
- Engine misfires: If your ignition coil is failing, you may experience engine misfires. This can happen when the spark plugs are not firing correctly.
- Poor fuel economy: A failing ignition coil can cause your vehicle to use more fuel than normal.
- Backfiring: If your ignition coil is failing, you may notice that your engine is backfiring.
- Engine Stalling: A failing ignition coil can cause your vehicle to stall.
- Rough idling: If your ignition coil is failing, you may notice that your engine is idling rough.
- Check engine light illumination: If your ignition coil is failing, you may see the check engine light come on.
- Hard starting: A failing ignition coil can make it difficult to start your engine.
If you experience any of these symptoms, it's important to have your vehicle checked by a mechanic as soon as possible. Ignition coils are an essential part of your vehicle's ignition system, and if they are not working properly, it can lead to serious engine problems.
Understanding a 3-Wire Coil-On-Plug System
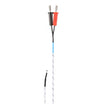
A 3-wire COP ignition coil typically includes:
- Power wire – Supplies battery voltage (usually 12V)
- Ground wire – Provides a solid ground path
- Trigger (signal) wire – Controlled by the ECU to fire the coil
A multimeter is commonly used to verify power and ground circuits, while the trigger signal requires different diagnostic tools.
Check Your 3-Wire Coil-On-Plug Ignition Coil
The three areas that can be checked are power supply, ground integrity, and the control (trigger) circuit.
1. Power Circuit Test
The power wire supplies battery voltage to the ignition coil. To test this circuit, set the multimeter to DC voltage.
With the ignition key in the ON position, back-probe the power terminal of the coil connector and connect the negative lead to a known good engine ground. A properly functioning circuit should show approximately battery voltage.
If no voltage is present, inspect the related fuse, relay, or wiring harness before condemning the ignition coil.
2. Ground Circuit Test
The ground circuit provides a return path for current flow and is critical to proper coil operation.
Set the multimeter to the resistance (ohms) setting and measure resistance between the coil’s ground terminal and a clean chassis or engine ground. The reading should be very low, typically close to zero ohms.
High resistance indicates a poor ground connection, which can cause misfires even when the coil itself is functional.
3. Triggering Signal Test
The third wire on a 3-wire coil-on-plug system is the trigger or control wire, which is pulsed by the engine control unit (ECU).
This signal is a low-current, rapidly switching control signal that most standard digital multimeters cannot accurately capture or interpret. As a result, checking the trigger wire with a multimeter may produce misleading or inconsistent readings.
A lack of measurable voltage on this wire does not necessarily indicate a faulty coil or ECU. Accurate testing of the trigger signal requires tools such as a test light, scan tool, or oscilloscope.

Step-by-Step Multimeter Checks
The following steps outline what a multimeter can realistically confirm when testing a 3-wire coil-on-plug ignition coil. These checks are best used as an initial screening process rather than a definitive diagnosis.
Step 1: Verify Power Supply
Set the multimeter to DC voltage and confirm that battery voltage is present at the coil’s power terminal with the ignition key ON.
If voltage is missing, troubleshoot the power supply circuit before replacing the coil.
Step 2: Verify Ground Integrity
Check resistance between the coil ground terminal and a known good ground point. The resistance should be minimal.
Poor grounding is a common cause of intermittent misfires and should be corrected before further diagnosis.
Step 3: Optional Resistance Check (Limited Diagnostic Value)
Resistance measurements between coil terminals may be performed, but results should be interpreted with caution.
Many modern coil-on-plug units contain internal electronics, and a coil may pass resistance tests while still failing under heat or load. Always compare readings to manufacturer specifications if available.
Step 4: What to Do If All Tests Pass
If power and ground are present and resistance values are within specification, yet the engine still misfires, the issue may not be detectable with a multimeter alone.
At this point, consider swapping the coil with another cylinder, checking for diagnostic trouble codes, or using advanced diagnostic tools to further evaluate the ignition system.
Quick Reference: 3-Wire Coil-On-Plug Multimeter Checks
| Test Step | Multimeter Setting | Normal Reading | If Failed / Notes |
|---|---|---|---|
| Power Wire | DC Voltage | ~12 V (Battery Voltage) | Check fuses, relays, and wiring harness |
| Ground Wire | Ohms (Ω) | < 0.5 Ω | Clean ground connections; high resistance can cause misfires |
| Trigger Wire | Hertz (Hz) | Pulsing signal present | Requires checking ECU or crank sensor; multimeter may not give accurate readings |
| Secondary Coil | Ohms (kΩ) | Spec varies; often reads "OL" due to internal diode | Check manufacturer specs; modern COP coils may pass resistance but fail under load |
Related Questions:
How do you test an ignition coil with three pins?
A three-pin ignition coil can be checked with a multimeter as part of a basic electrical inspection, but the results should be interpreted carefully.
A multimeter can be used to verify battery voltage at the power pin and to confirm proper ground integrity. Resistance measurements may also be performed, but many modern three-pin coil-on-plug units contain internal electronics, which limits the diagnostic value of resistance testing alone.
Because the third pin is typically an ECU-controlled trigger signal, it cannot be reliably evaluated with a standard multimeter. For accurate diagnosis, additional testing methods may be required.
How do you test a coil over plug with a multimeter?
Testing a coil-on-plug with a multimeter is best used as an initial screening step.
With the ignition key ON, a multimeter can confirm that battery voltage is present at the coil and that the ground circuit has low resistance. These checks help identify wiring or power supply issues that may cause misfires.
However, a multimeter cannot fully assess coil performance under operating conditions. If power and ground are present but the misfire persists, further diagnostic testing is recommended.
How many ohms should an ignition coil have?
There is no universal resistance value for ignition coils, as specifications vary by vehicle make, model, and coil design.
Some ignition coils may show primary resistance in the low-ohm range and secondary resistance in the kilo-ohm range, but these values are highly application-specific. Always consult the vehicle’s service manual for the correct specifications, and keep in mind that a coil may meet resistance specifications and still fail under heat or load.
Conclusion:
In conclusion, testing a 3-wire coil-on-plug with a multimeter is a useful first step in diagnosing ignition-related issues. A multimeter can help verify power supply, ground integrity, and obvious electrical faults.
If the basic checks pass but the engine continues to misfire, further diagnostic testing may be required. Always consult the vehicle’s service manual for model-specific procedures and specifications.
Recommended Articles:


Leave a comment
All comments are moderated before being published.
This site is protected by hCaptcha and the hCaptcha Privacy Policy and Terms of Service apply.